CAD Assignment
3D CAD
Use Fusion 360 to sketch and design the 3D printing object.
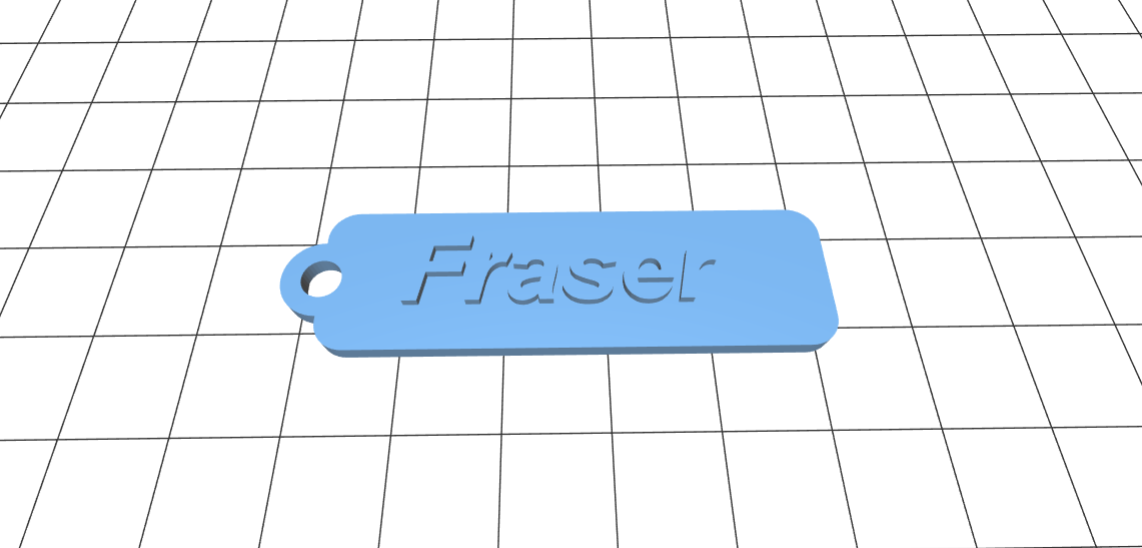
Keychain
How to 3D print your own personalize keychain?
Have your own personalize keychain design in Fusion 360. Go to the file icon and select 3D print
In this case I am using the school 3D printer (cura 2+). Therefore I have to download the app inorder to save the file.
When the file is opened in cura 2+, you need to customize the setting; such as select the printer to cura 2+, material used is PLA etc.
After you have done customizing the printer, select slice. It will estimate the time to print. Save your file in a SD card and insert it in the printer.
At the beginning, you have to ensure that the 3D printer prints normally. If the 3D printer function normally, you can leave to do other work and come back when it is done.
Bridging
What is bridging?
Bridging is when the Ultimaker prints a flat, horizontal part of the model mid air.
Although creating a support structure for bridging is a solution, but most of the time it works without support.
The Ultimaker will create lines of plastic between printed parts, this is created to support the bridging part.
To minimise the amount of structural support needed, we need to consider the orientation of the model on the build plate.
By rotating the model where there are fewer/smaller hanging parts will reduce the amount of structural support used.
Print speed will also affect the qua;ity of the printed object.
To ensure the lines of plastic on the bottom layer of the bridge stick well to the pillars, it is important to not print too fast.
A high printing speed will lead to bad adhesion of the plastic to the pillar (th nozzle might drag it around); thus the plastic will not stand.
By using a lower printing speed, the plastic will have more time to properly stick to the pillars, resulting in a good adhesion.
Temperature is also an essential factor for bridging.
Lower temperature works better. This is because matrial is less liquid and does not string eaily at a lower temperature.
However, decreasing temperature too much could lead to under extrusion.
A temperature between 180 C and 200 C is suitable for PLA.
Generally, you should be able to achieve a bridge of about 25mm across.
Over Hanging
Some models have overhanging parts. Overhanging parts are parts of model that float mid-air when you are printing.
In order to print overhanging parts, you need to print a support structure under the model to prevent the plastic from falling down.
This can be done by enabling "Generate support" in the cura.
The overhanging angle can influence the amount of support material needed. A smaller angle will use lesser material for support while a larger angle requires more material for structure support.
With PLA and cooling fans, printing overhanging parts with angle of 45 degree to 55 degree will not require structural support.
A design part that includes an unsupported 90 degree overhang will have a maximum overhang length of 1mm to 2mm withoutsupport.
Infill Density
Infill density defines the amount of plastic used on the inside of the print. A higher infill density means more plastic is used to print, which makes the object stronger.
An infill density around 20% is used for models with a visual purpose, higher densities can be used for end-use parts.
You can set the infill density by percentage or line distance. Line distance is the distance between each infill line, which has the same effect as changing the infill density.
Ultimaker Cura allows you to change the pattern of the printed infill structure.
Example, Strong 2D infills are used for everyday prints.
Quick 2D infills are used for quick, but weak models.
3D infills are used to make the object equally strong in all directions.
3D concentric infills are used for flexible materials.